How to Clean MacBook Disk Space (Air & Pro Guide)
Nothing is more frustrating than trying to download a new application or save a large video file, only to be hit with the dreaded "Your disk is almost full" warning. Whether you are using a lightweight laptop for school or a heavy-duty workstation for video editing, managing your hard drive is an inevitable part of owning an Apple computer.
If you are wondering how to clean macbook disk space, you are not alone. In this comprehensive guide, we will walk you through exactly how to analyze your drive, manually remove hidden junk, and introduce you to the best visual cleaner for Mac to automate the process.
1. How to See Storage on Mac
Before you start deleting files, you need a clear understanding of what is actually consuming your hard drive. The first step is learning how to see storage on Mac. Apple provides a built-in utility that breaks down your usage by categories such as Applications, Documents, macOS, and System Data.
To access this overview:
- Click the Apple logo () in the top-left corner of your screen.
- Select System Settings (or System Preferences on older macOS versions).
- Click on General in the left sidebar, then select Storage.
Here, you will see a colorful bar graph representing your hard drive. If you hover over the different colored segments, macOS will tell you exactly how many gigabytes each category is utilizing.
2. How to Check Storage on MacBook Air vs. Pro
Many users wonder if the process differs depending on their specific hardware. If you are specifically looking for how to check storage on macbook air, the good news is that the process is entirely identical across the entire modern Apple lineup.
Whether you are trying to figure out how to clear disk space on MacBook Air with a smaller 256GB SSD, or how to clear disk space on macbook pro with a massive 2TB drive, the macOS interface and the underlying file system (APFS) behave exactly the same way. The only difference is that MacBook Air users typically hit their storage limits much faster and need to be more aggressive with their cleanup routines.
3. Manual Methods to Clear Disk Space
Once you have identified that your drive is full, it is time to start reclaiming that space. Here are the most effective manual methods to free up gigabytes of storage:
Empty the Trash (Properly)
It sounds incredibly obvious, but moving a file to the Trash bin does not actually delete it from your hard drive. The file remains on your disk, taking up space, until the bin is emptied. Right-click the Trash icon in your Dock and select Empty Trash. You can also open the Trash and click "Empty" in the top right corner.
Remove Old iOS Backups
If you ever plug your iPhone or iPad into your Mac to sync or update, macOS creates a massive backup file. These backups can easily consume 50GB to 100GB of space each. To delete them, return to the Storage menu in System Settings, find iOS Files, click the "i" info icon, and delete any old device backups you no longer need.
Audit Your Downloads Folder
The Downloads folder is a notorious graveyard for massive disk images (.dmg files), old PDFs, and zip archives. Open Finder, navigate to Downloads, sort the folder by Size, and drag anything larger than 1GB that you no longer need directly into the Trash.
4. The Ultimate Cleaner for Mac
While manually hunting down files is a great start, it is incredibly time-consuming and often misses massive chunks of hidden "System Data" and deeply buried application caches.
If you want to completely automate the process, you need a dedicated cleaner for Mac. CheckMyDisk is a native, privacy-first disk space analyzer designed specifically for macOS.
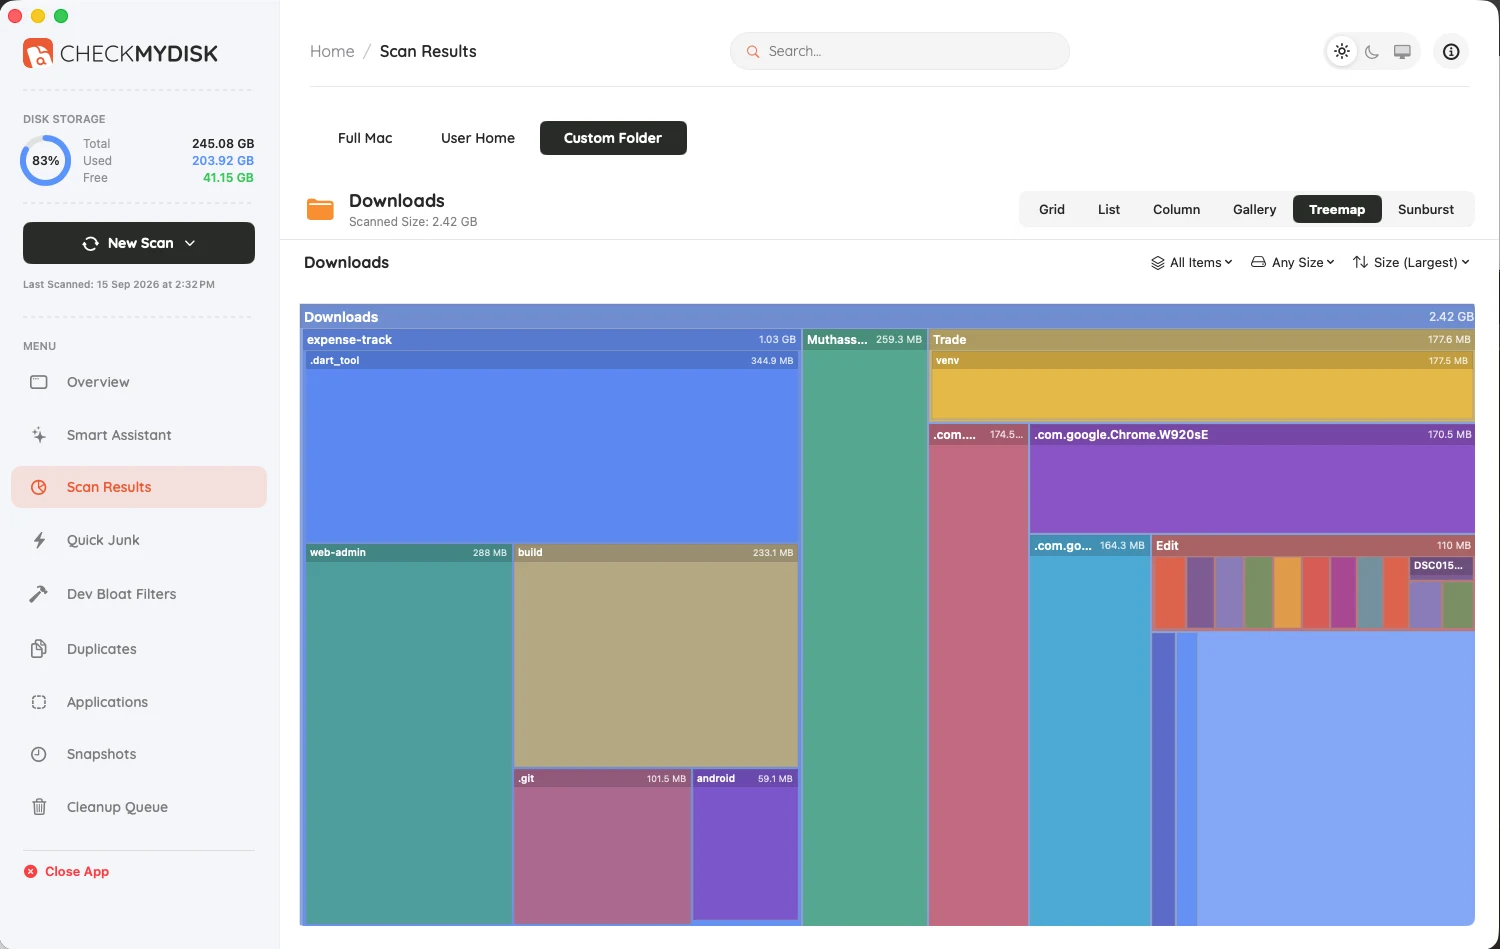
Instead of forcing you to blindly dig through Finder folders, CheckMyDisk scans your entire hard drive in seconds and generates a beautiful, interactive visual map of your storage. You can instantly spot which folders and hidden system files are taking up the most space, allowing you to reclaim gigabytes of storage with a single click. Best of all, CheckMyDisk operates 100% offline, meaning your files and privacy are completely protected.
Conclusion
Running out of space doesn't mean you need to buy a new computer. By learning how to monitor your storage and utilizing a dedicated visual analyzer like CheckMyDisk, you can keep your MacBook running lightning-fast and ensure you always have room for the files that matter most.